


This week I'm...
...reusing as much of the holiday packaging I can, in art and other presents.
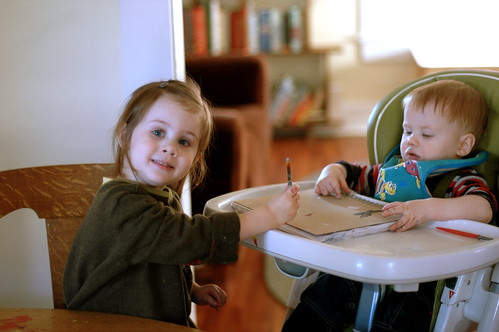
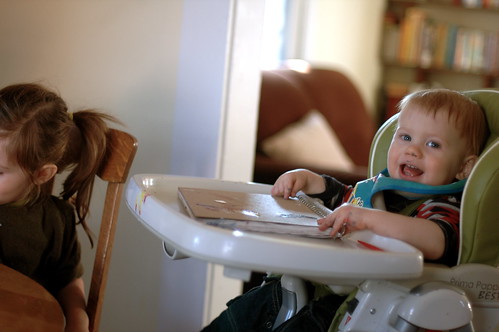
...chasing a very sly elf around. (Does teething two more molars slow him down? Not at all!)
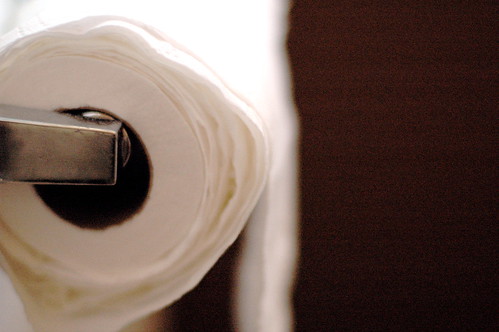
...wondering why the bathroom holds so much fascination.
...re-rolling the toilet paper explosion he created earlier this week.
...confident that all he has a second-sense to doors left open by Isia.
...unsure his older sister isn't helping him out- just a little (ahem).
...making my lists and checking them twice.
...working on a week of elving posts. Next week I'll share a whole week's worth of holiday goodness and presents to make for the giving... or the keeping (wink).
What do your holiday lists hold this week?
I love when the fine line between object and art becomes blurred. Such as Christo wrapping an island in cloth, here. Or Warhol filling an art gallery with look-alike Campbell's Soup boxes, here. It's so easy to begin to limit art. To start thinking that all art needs a frame, or even an objective for that matter. And forget how fun it can be to just create, using whatever you have on hand. Like a raisin box.
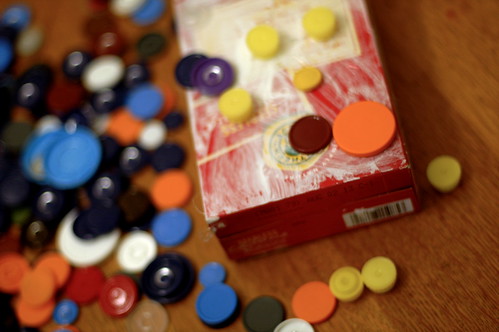
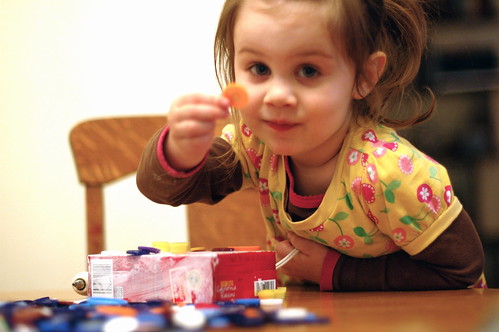

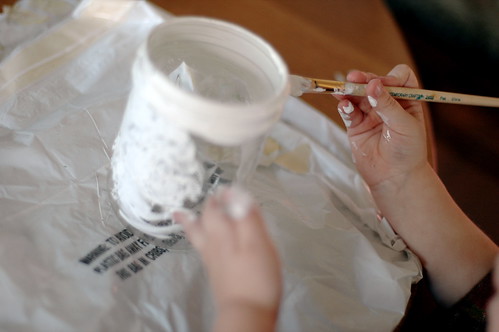
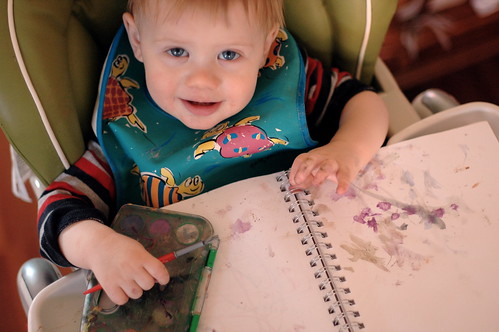
Our first step to this project was painting the box white with acrylic paint. Isia wanted to know why she was painting a box of raisins. Can't a box be art? I asked. She wasn't sure, but she was happy to paint it to see what would happen next. Then she wanted to get her hot glue gun out (see the beginning of her hot glue adventure, here). These pop-off lids, collected by our friend whose a nurse, worked perfectly. She was collecting them for a collage project and was nice enough to share with us. They're a great assortment of colors and sizes. Isia enjoyed selecting which ones would be "just right" for her box.
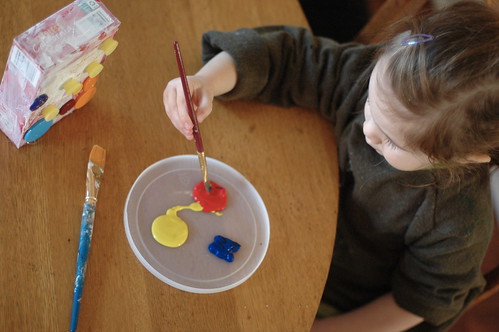
Then she wanted to add some color, so we got out the tempera paint. As you can see, the only colors we own are yellow, red and blue. I find it's easy to mix any specific we need for a project or- even better- let her experiment with mixing her own. I've recently re-discovered that plastic lids make great palettes. They're a nice smooth surface to mix paint on and easy to clean up afterwards.
By the end of the project, there was no doubt in her mind that her box was now art. She had claimed it as her own and was eager to give it to someone. That's the highest mark of artwork around here, wanting to give it away as a present!
This project, to me, opens up that age-old discussion of "What is art?" Did the raisin box become art when Isia decorated it, or was it already art in the first place? If you enjoy pondering this question- and around here we do- there's a great book for you, "Puzzles about Art: An Aesthetics Casebook." It's a little highbrow at times, but definitely engaging and thought provoking. For example it presents the case of Betsey the Chimpanzee in the Baltimore Zoo who uses paint and paper to produce various products. The book inquires as to whether these are paintings. "Is Betsey's work art? Is it art only under certain conditions of display (e.g., at the art museum, but not at the natural history museum)? If it is (at least sometimes) art, whose art is it?" (1). Translated into more kid-friendly language by the Mama, we've had some good beginnings-of-dialogue. And some good giggles too- especially imagining how different animals might create art!
We have busy hands this weekend. Finishing up our holiday decorations so that we can begin our elving in earnest. One needs a proper holiday environment for gift-making, yes? Also joining our parents together for our annual Holiday Dinner. I know the season is truly underway when we all get together. It's hard to believe that they were meeting each other for the first time thirteen years ago. So much has happened since then, with their love and support sustaining us on the busy journey. We are lucky to have them. And even more lucky that they enjoy each other too! (wink)
What projects does your weekend hold?
"A Friday ritual. A single photo - no words - capturing a moment from the week. A simple, special, extraordinary moment. A moment I want to pause, savor and remember."
(words and inspiration via Soulemama.com)
. . . . . . . .
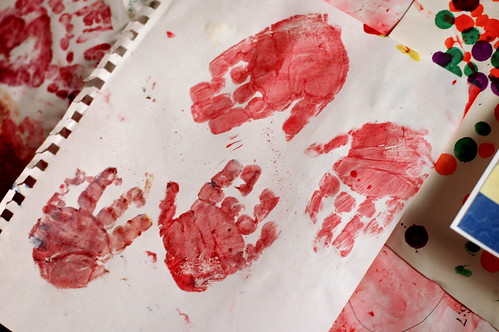
(Isia & Billy's hands)
It was predicted, by a few friends of mine, that I would fall in love with quilting once I tried it. I was a little bit intimidated- Three layers to sew through? Measurements? All that ironing? It seemed a bit much for life with two little ones. But the best way to make anything, I find, is to jump in and get started. So when this beautiful Jansdotter fabric came my way (read more about my Jansdotter connection, here) I knew it was time!


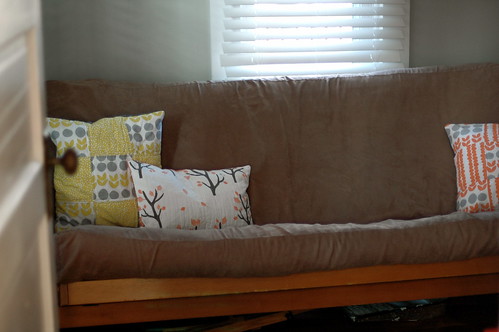
Does everyone plan a room around fabric? I've never thought of grey as a background for yellows and oranges- but I like it. A lot. The very first pillow that I quilted was the trees. I layered the fabric and batting, then sewed lines back and forth across on my sewing machine. I love how the sewn lines complement the linear lines of the design. My next quilting project was the yellow pillow...
 ...followed closely by the orange pillow. I discovered that the multi-steps of quilting that made me so apprehensive, actually benefited the rhythm of my life right now. One day I could cut out fabric squares during a nap. I could piece them together and pin them during another nap. Quilt them together after the kids go to bed, iron them another day... and so on and so forth. Breaking it up into smaller steps also allowed me not to mess up too much at once. Such as not pinning it enough and having the seams move around on me (ahem). Thank goodness for seam rippers and forgiving fabric!
Not only was this my first time quilting, but it was also my first time installing a zipper. I enjoyed this tutorial that I found through Pinterest, here, that helped me to install a zipper even when I had mistakenly already sewn the other three sides of the cushion cover together- eek! Luckily it all ended well, and it gave me enough confidence to experiment with my other covers.
In our house pillows take a lot of abuse, so I need to be able to quickly strip the covers off and wash them as needed. I contemplated more zippers, but then I happened upon a pair of Isia's old overalls that had made it into my fabric pile. I wondered if I could sew the snaps on as one piece? I cut and sewed two pieces for the back of the cushion, to make two flaps that met in the middle. Then I sewed one side of the snap to bottom flap, and the other side to the top flap.Finally I snapped the sides together to create one piece, and sewed the pillow together. Success!
Here's the finished room! Please ignore the easel and painting tray that are hiding under the futon- it's a bit of a catch-all these days (wink). Thankfully I've not needed to strip the cushion covers off for any washing yet, but it's so nice to know I can if I need to. In the meantime they're getting a lot of snuggling, especially as we start to watch our Christmas movies. There have been several viewings of "Rudolph the Red-nosed Reindeer" and "Frosty the Snowman" already!


