create (with kids): Valentine's Week

By freshlyplanted - 3:28 PM

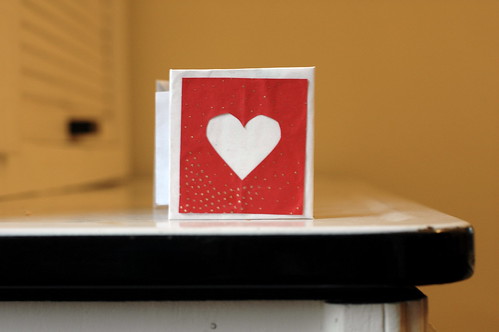
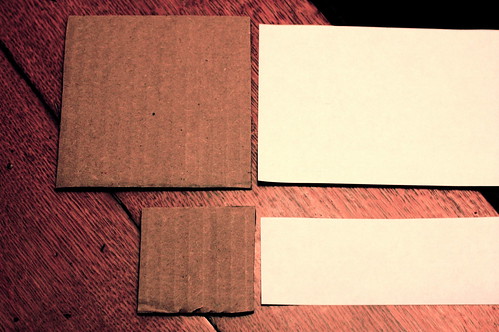
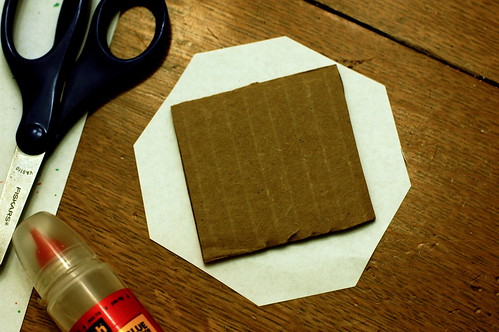
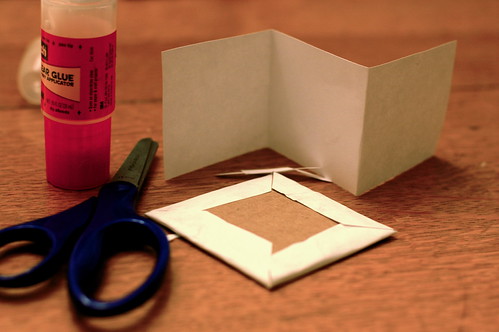
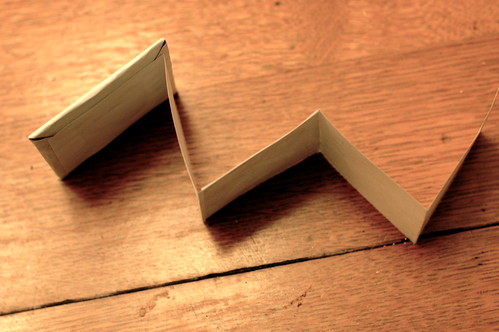
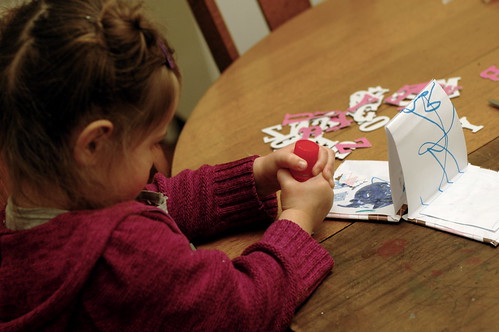
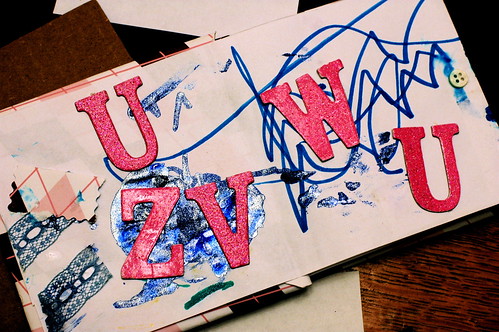
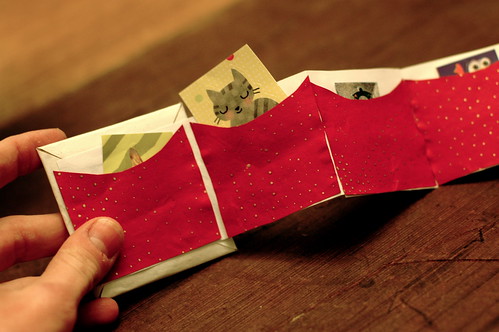
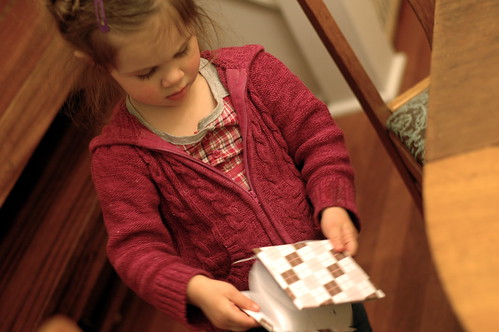
I have to admit, I was never much a fan of Valentine's day before we had kids. Cory and I would exchange small tokens, but never make a big fuss. And then we had kids. And all of a sudden heart-shaped food started to make its way to our table and I developed a liking for glitter. Who knew? It's been so much fun to celebrate Valentine's day with Isia, and this is our fourth one together. This year is especially fun, because she understands what it means to make something for someone you love. So this post kicks off a week of Valentine's day crafting fun. Simple, easy activities that you probably already have the supplies for. In fact, you just need cardboard, paper, and glue for today's project. We're going to put those all together and make a...

We Heart Valentine's Day
...book! I love making books, especially with kids. Is there any better place to keep all their special stories than a book they've made themselves? And this one is easy enough for them to make, with just a little assistance from you. Just make sure you make one for yourself too!

We Heart Valentine's Day
You'll need two squares of cardboard, and paper that's trimmed to fit inside it, with just a little allowance at the top and bottom. 

We Heart Valentine's Day
The cardboard is going to become the covers of your book. Chipboard and wood are also good cover materials too- anything that has a bit of heft to it. If you want to cover your cardboard, cut a piece of paper for it that's about a half inch larger on all sides. Next cut away your corners, so that your paper doesn't overlap when you fold it up. 

We Heart Valentine's Day
You'll fold and glue your cover next. Your trimmed edges should align nicely together. If they do overlap, just trim as necessary until they lay side by side. Using your cover as a guide, fold your paper once leaving about about 1/4" on each side so that it fits nicely inside your book. Continue to alternate folds down the length of your paper. 

We Heart Valentine's Day
If you want to add extra pages, use your original pages as a guide to fold additional sheets. Then overlap the last page of your original with the first page of your additional sheet, matching the folds, and glue together. (Looking carefully, you might be able to see my sheets glued together in the middle of my book.) You'll glue your pages inside your first cover next. Before you glue on the second cover, make sure the final fold ends as you'd like it to. I like to have open folds on both sides of my book, so sometimes I need to trim a fold away to create this. 

We Heart Valentine's Day

We Heart Valentine's Day
And then it's time to decorate your book! Isia scoured our collage box for worthy treasures. She also used markers and- her most favorite art material right now- glitter glue. She wants to give her book to Billy and said she was "choosing letters that he will like." (smile)

We Heart Valentine's Day
For my book, I added little pockets. I cut squares of embossed paper to fit on each page, then cut away a "lip" at the top to make it easy to get things in and out. I then put a thin line of glue on the three bottom edges and adhered them the page. Aren't they sweet? A perfect home for little treasures such as stickers, "tattoos," small notes- anything that's flat and long enough to stick out the top. 

We Heart Valentine's Day
Now your book is ready to be enjoyed! We're big fans of just opening and closing them over and over again... somehow it never gets old.

ps. Speaking of opening them, one last thing. Since accordion books tend to open easily, we wrap ribbons or rubber bands around them when they're not in use. I also found some nice closure ideas here and here. Happy book-making!


  • Share:

You Might Also Like

0 comments

Note: Only a member of this blog may post a comment.